20 Jan Easy to Use Photo Textures Tools
I’ve been getting really into using photo textures lately. Exploring and experimenting with a variety of photo editing apps has been so much fun! Photography itself is absolutely like therapy for me on so many levels, I don’t know where I’d be or what I’d do without it. Adding a boost of creative play to my photo practice has been exciting and energizing. And when I get pumped about something, I like to share it! That’s how the idea for #textureplaytuesday popped into my mind. I wanted a simple way to keep myself in a light, creative spirit so I decided to invite anyone else who wanted to join me to play along. Doing something weekly felt doable and fun! So far, so good!
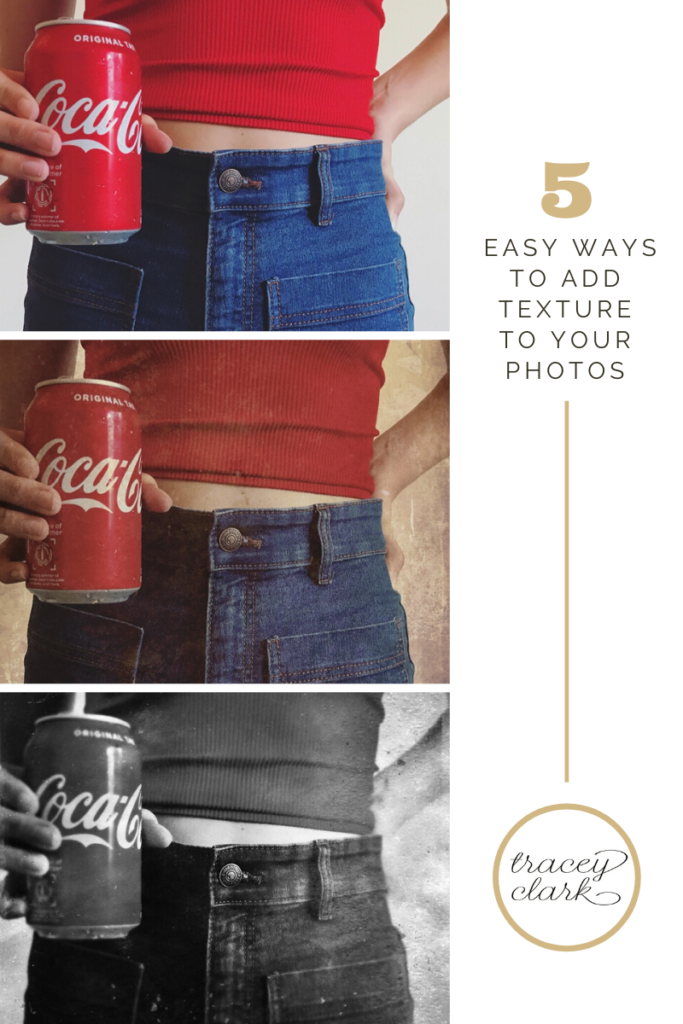
Because people have been asking about my approach and methods to working with textures (which is really just playing around) I wanted to share a few of the apps I use for different effects. It’s true that most photo editing apps do offer many of the same tools (although they’re often called different things) BUT when it comes to really specific, more creative and out of the box effects, like textures, not all apps are created equal. They each have their own unique charm. Although I have always been a self-proclaimed minimalist when it comes to the editing tools I use (I really do like to keep it simple), my recent infatuation with exploring photo apps has proven to be a catalyst in getting my creative juices flowing so I say, why not have an arsenal? Here’s a few examples of texture styles I like, using a few different photo editing apps.
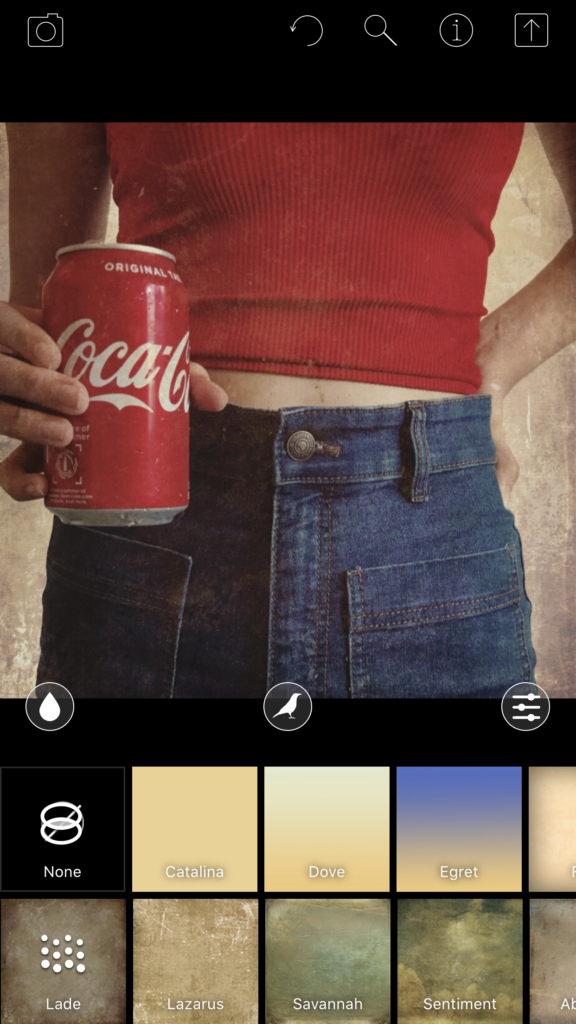
Distressed FX is my first love for textures. I’ve only used the original overlays so options may seem limited but you can mix and match the top row options with the bottom row options in endless combinations. Once you make your choice, you can use the 3 different slide dials to modify the look and feel of the end result. For this I just used Lade, with its antique papery feel. I often opt for the more painterly textures for my nature and landscape work. They look exceptional with skyscape imagery and there’s even a bird silhouette layer for added whimsy.
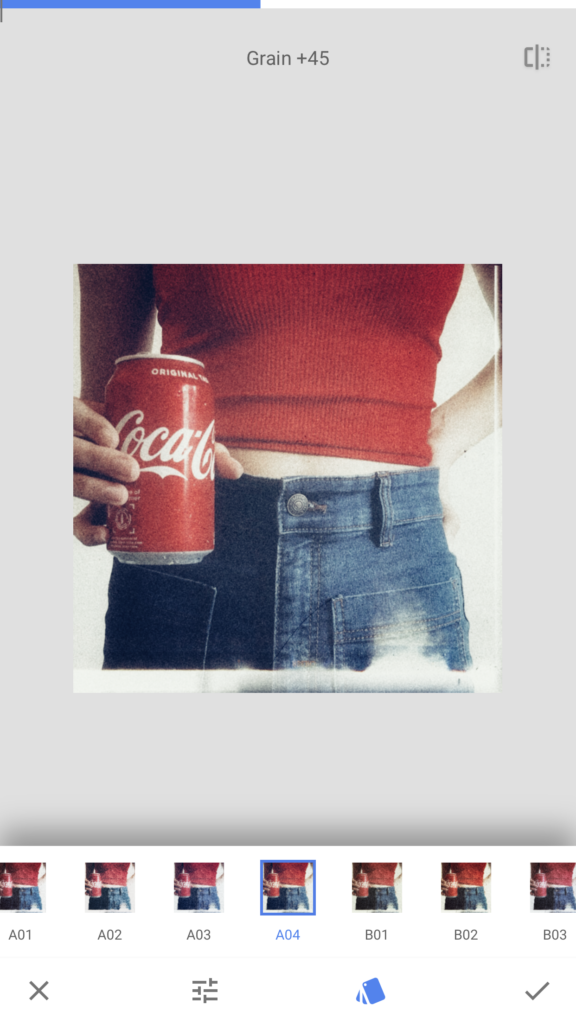
Snapseed is widely used and well-loved. I have only recently started exploring its many charms and find myself using it more and more, especially for quick, easy, and creative texture options. It’s got a 1-click style tool dashboard (which is refreshing) but within each option you can fine-tune, if that’s your jam. I used a Retroluxe filter option that has a subtle texture and light flare in it and then I added some grain. I love the grain options in this app.
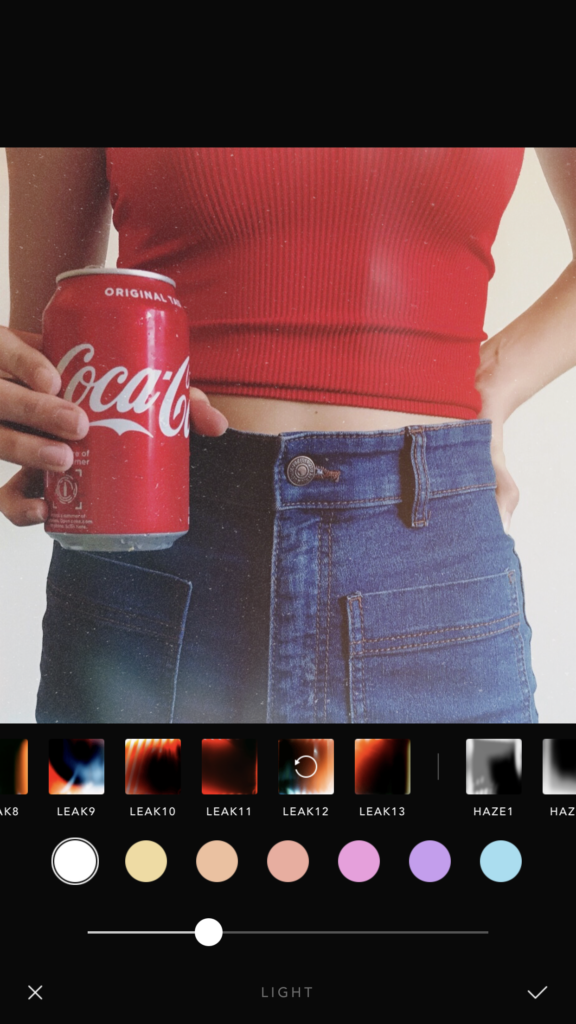
Afterlight is quickly becoming one of my faves for many reasons. It’s got all the basics plus a lot more. There’s some pretty artistic stuff you can do, including double exposures (which is going to be the next thing I try!) but I’ve been enjoying the light leak options. There’s lots of different things to try and you can layer them onto each other which is really fun! For this I used a dust texture (see the flecks of dust?) and then added a subtle light leak layer on top of that. You can get lost in all the different ways to fine-tune each option but I try not to overwhelm myself.
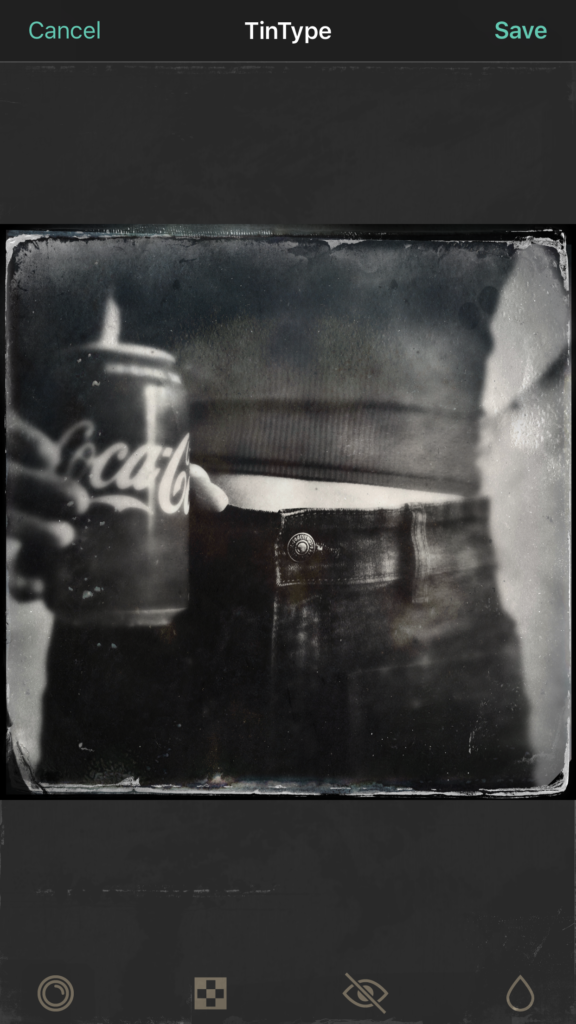
TinType app from Hipstamatic has been around a since the early photo app days but I didn’t remember you could import a photo from your camera roll into it. Now that I’ve revisited, it seems you can and it’s awesome! Although I think it best lends its old school look to portraits (you HAVE to try it, if for nothing else the eyes!) it can work with any subject if you’re looking for a super-vintage texture treatment. It offers very little fine-tuning control but who cares? It’s totally fun to play with and gives your images a quintessential tintype look.
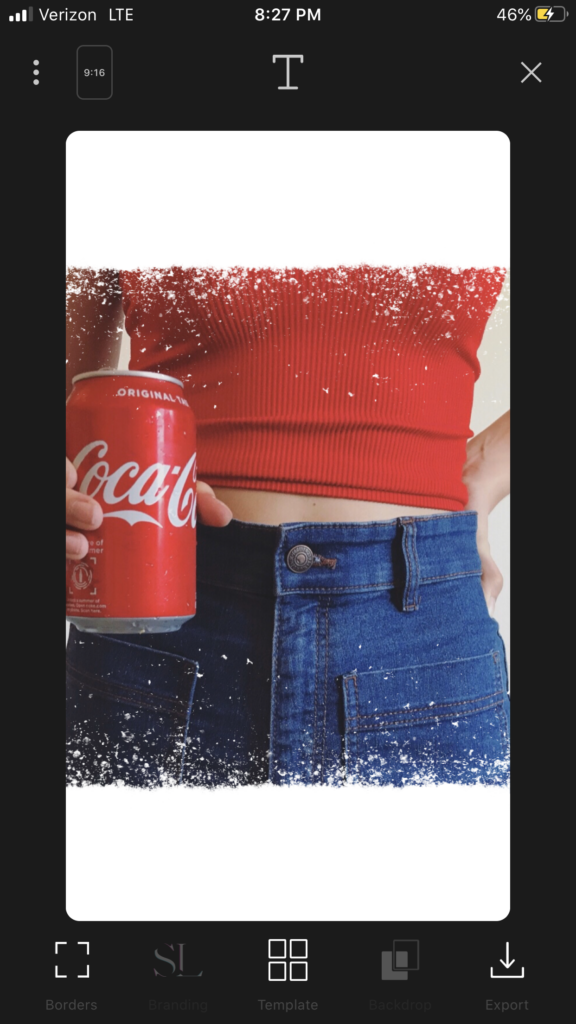
StoryLuxe is an app that’s made to work with Instagram stories (as the name suggests) and it’s really more of a design app, not a photo editing app but it’s my new favorite obsession. I’ve found some unique ways to use the apps capabilities to add very unexpected and artsy texture type elements to my images. The sizes options aren’t extensive (since the sizing is for stories) but you can work around that if you’re using your image for something else . This treatment is available under the “edge” category.
There are truly endless ways to manipulate your photos to give them the look and feel that you’re after. And there are a ton of photo apps out there to try. Even if you don’t know what you’re after, by testing, trying and playing with some of the options, you’ll discover artistic effects and creative possibilities you didn’t even know existed. Isn’t that the fun of it? These 5 apps will give you some tools to start with. They’re the ones I’ve used and enjoyed. Although I’m pretty sure that everything I’ve shown you here is free to use, keep in mind that like most free apps, there are always upgrades available and/or more capabilities to unlock at a small fee. Enjoy the process of adding some extra visual interest to your photos with textures! If you have a favorite photo app that you use to add textures to your images, please let me know in the comments. I’m always looking for new creative tools! And if you’re so inclined, share your works of art on social media by using the hashtag #textureplaytuesday!
EP. 125 // Photography & Business w/ TRACEY CLARK – wordpress-535333-2662401.cloudwaysapps.com
Posted at 22:27h, 30 May[…] • The Picture Series• Shutter Sisters• Tracey’s books• Artful Blogging Magazine• Picture Home• Big Picture Classes• Amanda’s word HOME this year• Dear Parents of Teens• Tim Storey on SuperSoul Sunday• 1 second everyday app• Adding Texture to Photos […]